How I Built My Personal Blog
Briefly presenting how I built my personal blog using Flask
I was really keen on having a new website, as I had one which used Wordpress CMS in the past and it was great. Although, this time I wanted it to be a little different. Basically, have full control over everything.
So, I just went with it. I chose Flask as my backend; I had SQLite as my database and hosted it in a cloud server. Why did I choose Flask?
Besides, Flask, I didn’t have any other choice other than PHP, with which I am familiarized, and I encountered Flask before during CTFs and I wanted to learn more about it, because it seemed very interesting and it has enough documentation to pursue many projects.
At first, I just wanted to use the Jinja2 templates, create a base template for some static pages (like home, about, project pages, etc.) and keep it simple. I was able to do that locally very fast. The site looked shit (I’m not good at styling), but did his purpose.
I moved on to researching a bit about what it means to deploy a Flask app on the web. As a first time doing this, I swear to you, it was painful =). It took me a while to understand why I needed to use Nginx instead of Apache2, or what are Gunicorn and Supervisord (btw, I still sometimes wonder what they really do 😊), but I figured it out and my website was live at cristibtz.live (this new Github Pages website is now at this domain). Anyway, I’ll come back later to the part of deployment.
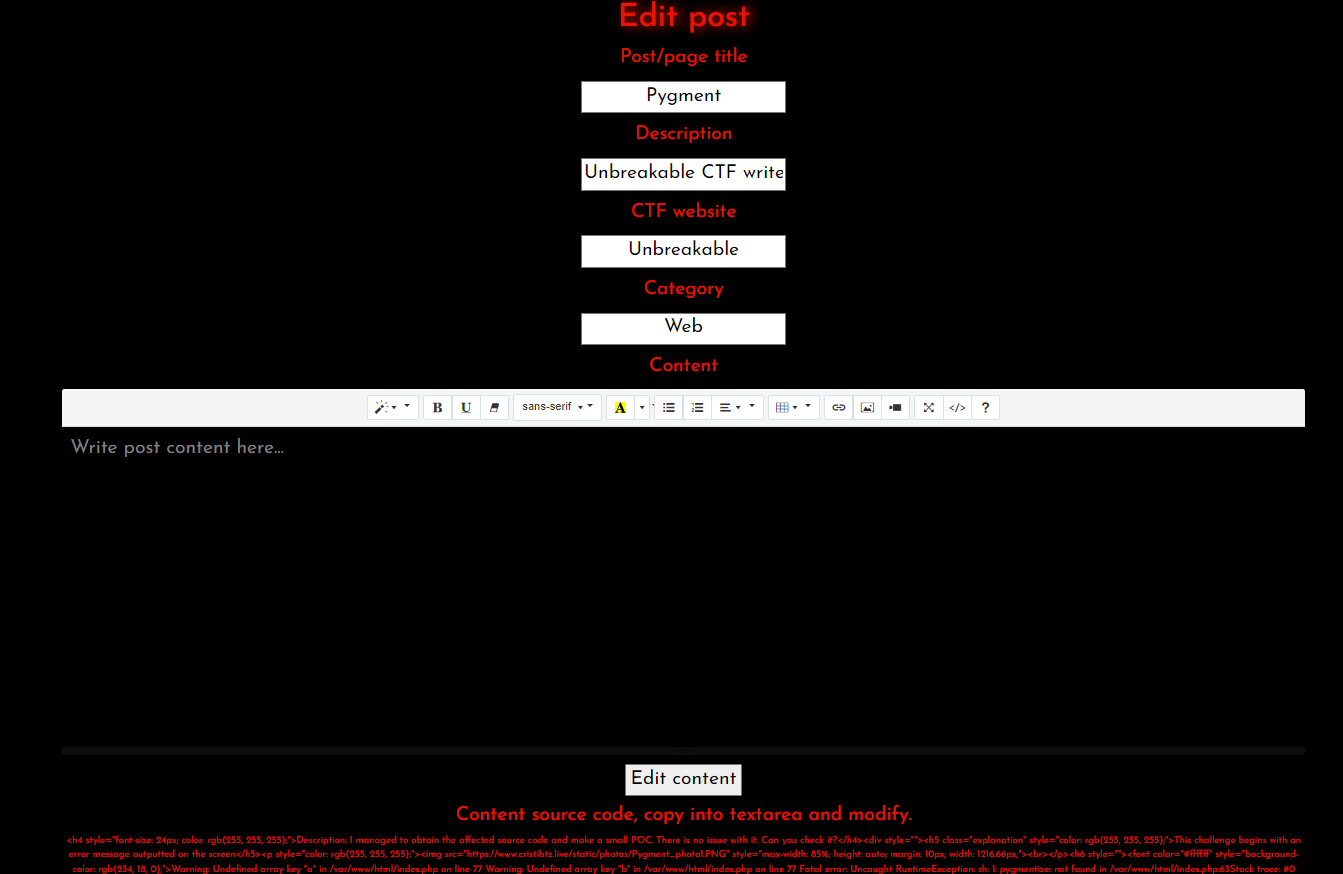
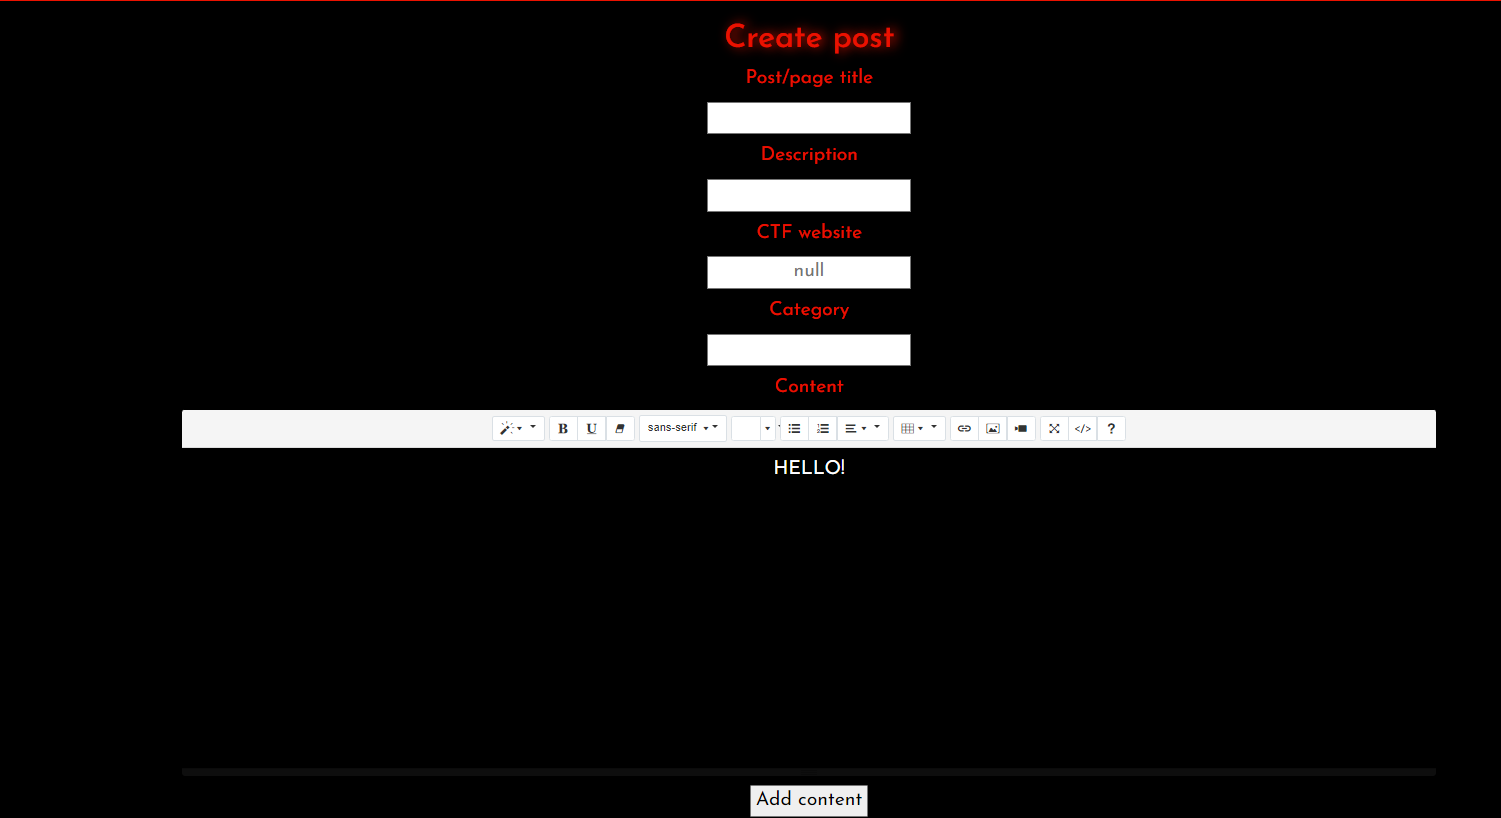
Eventually, I became bored and annoyed of having to create pages manually, so I figured turning my website in a mini CMS would be better. I just needed a page to create the content and make it look the way I wanted. Luckily, I found Summernote WYSIWYG editor. It basically let me write text and style it and then it converted it in HTML, send it to the database and when the post was accessed the database would retrieve the HTML code and place it into the page. I felt like a genius for thinking of this, although it’s pretty trivial now that I think about it.
My main reason to use this website was to have an about page and post CTF writeups and that’s why the post-creating page had those fields.
Also, I had to create a login page for the admin part of the website (at first only for the editor page). I was able to do most of the things because I previously watched some tutorials about building Flask apps, although there were times when Github Copilot saved me.
I wanted the end version of the website to have some kind of dashboard from which I could manage the posts (CRUD operations) and upload static content. It looked very basic, basically some buttons in the middle of the page.
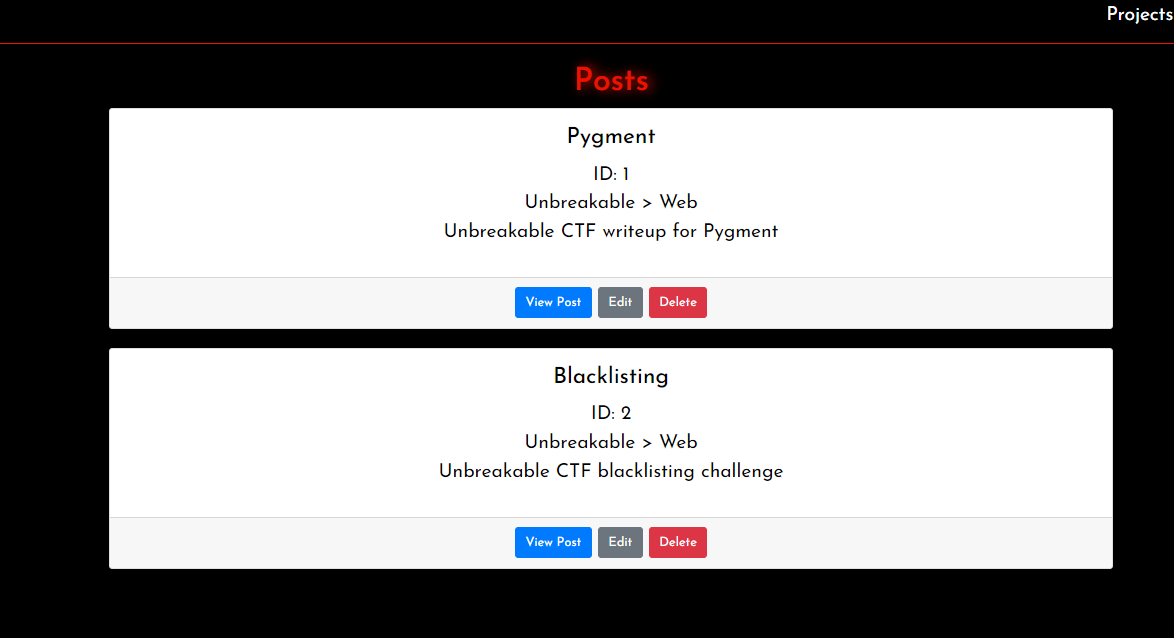
 Also, this is how I centrally managed all my posts
 To edit them, I would basically retrieve all the content from the database and place it in the editor page’s fields and just change them.
One last thing I had to mention before talking about the deployment experience was that I created a very basic upload functionality, because it was very annoying to always upload images in the static folder using Filezilla.
Anyways, I’ll have a short video below in which I showcase the functionalities in case you want to get this website and use it yourself (Github page of the site).
Deployment-related: I’ll keep it short and emphasize the fact that my googling and error-solving skills have improved considerably after building this website. By far, deploying the website was something that really challenged me, but with the help of many tutorials and articles, I was able to do it. As I said above, I had to use Nginx, for handling client requests, and Gunicorn, as a WSGI that handled requests from Nginx and made them understandable for the Python code). Also, I used supervisor for managing the Gunicorn processes. Basically, I had to change configuration files according to the project needs and google a lot why things didn’t work properly.
For updating the website code I used Git. I had a remote repo on the server and a local repo on my machine. Whenever I needed to change something in the code I just pushed to the remote repo. I will not get into details of setting this up, but this was also a very interesting challenge for me.
In conclusion, I can say that this project taught way lot more than I expected. To put it in a list:
- I improved my Python programming skills, more exactly Python Web dev; also it was a great revision for HTML, CSS and JS languages;
- I learnt about version control using Git and also about basic server administration;
- I got way more familiar with the Linux OS.
I will leave down here some info from this project and also a video with the website demo:
- OS: Ubuntu
- Server: Nginx + Gunicorn
- Tutorial to configure and deploy Flask app
- Passwordless SSH config for Git (can’t find the link for the resource I used)
Demo video of the website
This post is licensed under CC BY 4.0 by the author.

